1990 Toyota Corolla headliner repair guide
We installed a headliner in this 1990 Toyota Corolla, which had a vinyl headliner originally. Instead of using vinyl headliner to replace the original, we used the cloth headliner material. It looks better than the vinyl, and is easier to work with than the vinyl. The headliner in the Toyota Corolla cars are simple to install and don't take very much material. The board in this car was only 52 inches long and the install time was about 45 minutes.
The Toyota Corolla uses the small to mid sized kit. The color of this headliner is 2000 opal.
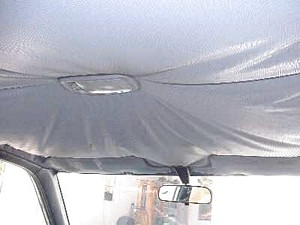 | 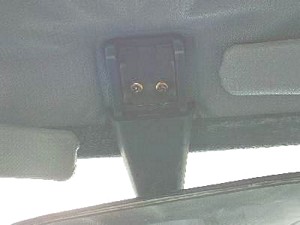 |
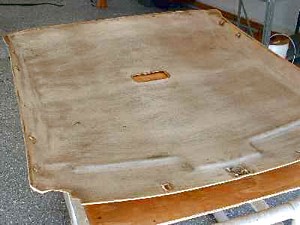
| This headliner was in the perfect shape to install easily, it had completely turned loose from the headliner board. | We took a pic of the rear view mirror mounting screws. A cover must be removed to see the attachment. This is about as complicated as it gets on the Toyota Corolla headliner removal. Everything that attaches through the headliner board must be removed, visors, dome light, etc. |
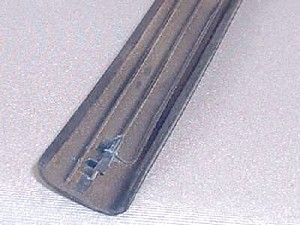 | 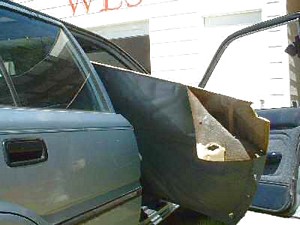 |
| This is a picture of the side trim, there are no screws that attach through the trim. The trim is held in place by the fins seen in the picture. They slide into metal clips, this holds very securely. The front trim snaps onto a lip, and to remove it, simply snap it off. We did not take the rear trim off, only the sides and the front. | Once the headliner board is detached from the car, it come loose freely. It comes out the passenger side door, like most other headliner come out. |
 | 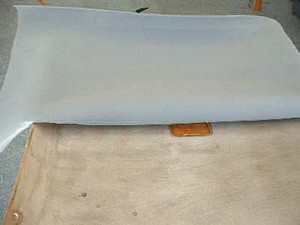 |
| Once the board is out of the car, clean it up with a wire brush or other kind of brush. The headliner board is made of stryofoam and is tough. The board was broken at the front 2 corners, these should either be glued back into place or taped into place. | After cleaning the board of all the old foam, it is time to recover it with new material. Lay the material into place on the headliner board, and fold it back at the midpoint. Spray the headliner material and the headliner board with a good even coat of adhesive on both, and adhere it using the palm of your hand. |
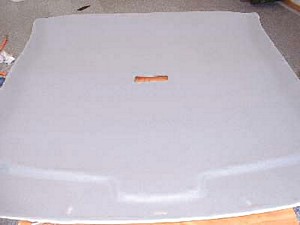 | 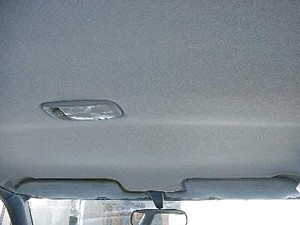 |
| A finished, recovered headliner board should look like this, following all the contours of the board. This is how it was in its factory original state. | When it's all done, replace the headliner board back into the Toyota Corolla, and replace everything exactly like it was when you began. It should look like it just came from the factory! |
toyota corolla headliner installation guide, corolla headliner repair