1985 Buick Electra headliner repair
This headliner install is on an 1985 Electra Limited. The headliner had sagged down until it could be seen from outside of the car, but it didn't take but a moment to restore it to like new with a full sized headliner kit. Everything else in the car was in good shape, except the headliner. The color we used was 1999 lapis blue. A full sized headliner kit works for this car; click this link to go to the order page.
 This headliner had sagged until it was visible from the outside. |
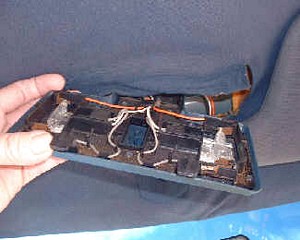 Remove everything that attaches through the headliner board. In this case; there was a 2 light assemble that had to be removed. All assemblies like this one can be unplugged. |
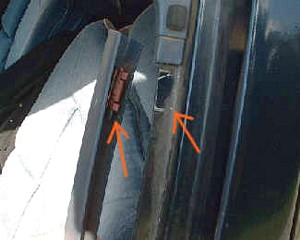 The doorpost trim has 2 smaller pieces of trim that can be "unsnapped" before it can be loosened. The red arrows point to the metal clips that hold it in place. Note: door post trim doesn't have to be removed, just loosened so the headliner will slide out from under it. |
 A couple of little pieces a the top that have to be unsnapped. |
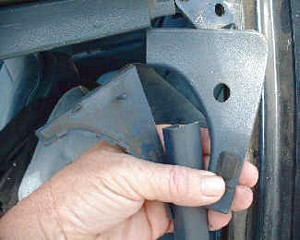
 The rear of trim of the door post trim assembly. |
 This is a shot of the top side trim. It extends from below the dash to the back of the rear door. It is one piece and snaps into place with clips like the door post clips. |
 The rear panels are just simply pulled down. They have plastic plugs that hold them in place. They do not have to be removed, unless recovering them. Just loosened so the headliner will come out from under them. |
 After all trim is loosened or removed, the headliner board should drop freely. |
 Remove the board through the front passenger side door. |
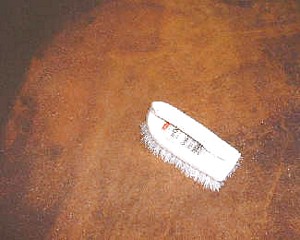 Clean the board with a stiff soft bristled brush. Try not to damage the board by chewing into it. It is made of fiberglass. |
 Lay the material out evenly on the board, and fold it from the middle back. This allows you to do a small section, instead of trying to spray it all at one time. It would be much better to work small sections so you don't have to get in a rush. |
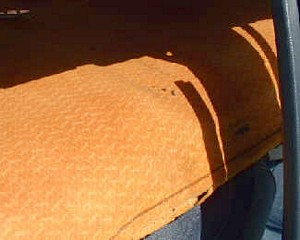
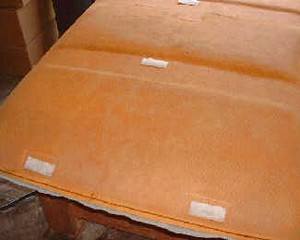 This is a shot of the backside of the board to show the velcro fasteners that hold it in place in the car. |
 When done applying the material, fold over and glue the front and rear of the board (if your headliner is trimmed like this), and trim the excess material from the edges. Headliner material comes in 54 inch widths, very few boards are over 52 inches. This one was approx. 49 inches wide. |
 Reinstall the newly recovered board in the car. It makes the car look like new on the inside again. |
1985 buick electra limited headliner installation, buick electra headliner repair