 Step 1: Remove the visors and all the molding that holds the headliner in place. |
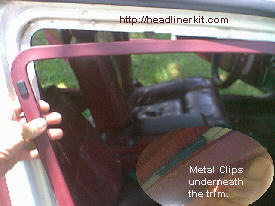 The trim around the doors and running down the front door post has clips that can't be seen. Pull the trim away from the car; starting at either end and remove it. [the oval in the picture is to show the metal clips attached on the body that the plastic molding fits into] |
|
 When all the trim has been removed or loosened enough to slide the headliner board free; take it down and let it rest on the seats. |
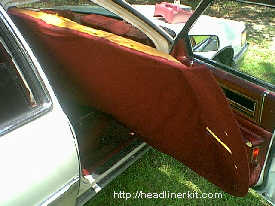 Remove the headliner board from the vehicle by twisting it sidways toward the passenger front door. [it may have to be bowed somewhat to remove it] |
|
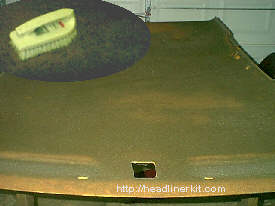 Remove the old cloth and scrap the old deteroiated foam from the board to clean it. [don't try to remove the old glue; as it is almost impossible] Glue the new material to the board 1/2 at a time and replace it in the automobile the way it came out. |
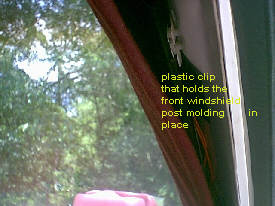 This picture is to show how the front windshield post molding is attached. to loosen the molding; pry it up with a screwdriver (just the top clip; leave the bottom clip in place). You can try to remove it; but it is much easier to just leave it aloose from the molding; the other peice of trim will hold it in place once the headliner is installed again. |
|
 Glue the new headliner on the board; doing 1/2 or 1/3 at a time. |
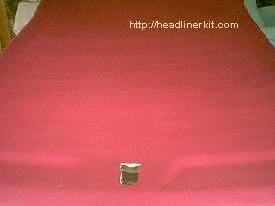 When the new material is securly glued to the new board; trim the edges and cut holes for the visors (these holes should be splits in a X) and any other holes that supposed to be in the cloth. |
|
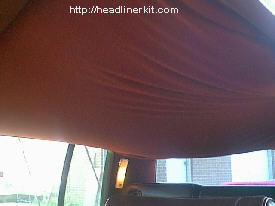
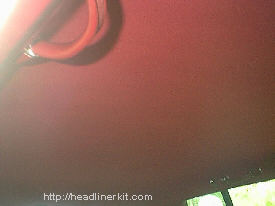 Then replace the headliner the same way it came out. The finished product should look like this. |
©WLS Headliners 2002 All Rights Reserved