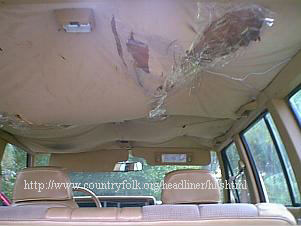
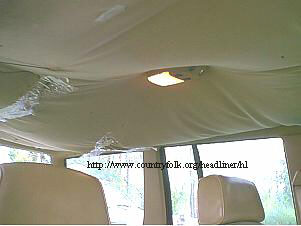
| This is an 1983 Jeep Cherokee with a saggy headliner problem.
These simple seven steps is required on any automobile to replace
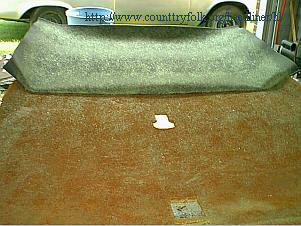
the headliner. We also have 1994 Jeep Cherokee Sport (with rear speaker box) headliner installation guide at this link. The color of this headliner is honey and we used a Cherokee, Explorer, S10 Blazer, Ramcharger headliner kit will do this vehicle, click this link to go to the order page. |
 STEP 1...Remove all the trim from the outside of headliner and sunvisors. It is a good rule of thumb to start removing the trim from front to back. (what I'm saying is don't start in the middle...but have a pattern--it makes it simpler) |
 Also remove the dome lights, clothes hanger hooks and anything else that holds the headliner so it will allow the headliner board to drop freely down. THEN REMOVE IT. A Jeep has a rear cargo door and the board easily is removed through the door--(98% of cars and truck headliners are removed through the passenger side door). |
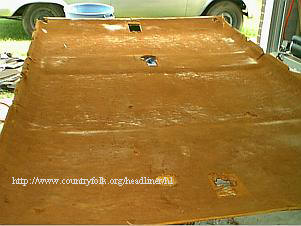
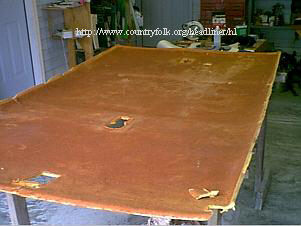 STEP 2...Remove the old headliner material from the board; this will leave the old and deteriorated foam on the board itself. |
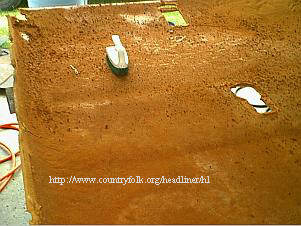 STEP 3...The old deteriorated foam must be cleaned from the board itself in order for the glue to adhere the new headliner to the board; this is done with a regular household brush or grill brush. (my preference is a softbristled brush) |
 STEP 4...The board should be completely cleaned of the old foam. (you don't have to remove the old glue; it is almost impossible) |
 STEP 5...Now place the material on the board allowing for about equal excess on each side; fold back at the middle and spray both the board and the foam side of the material with the aresol glue. (a good even coat) Now fold the material down over the board and rub it out (press cloth against board) with the palm of your hand. |
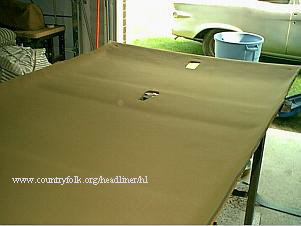 STEP 6...Do the other side the same way and then trim the excess and cut holes for anything you took off...like visors, etc. You should have a headliner board that looks something like this. |
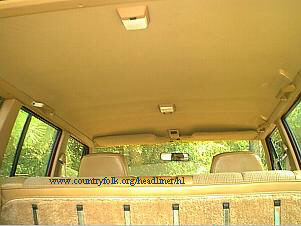 STEP 7...Replace the headliner the same way it came out and line it up using the holes you cut for the visors. Replace all the trim and you should have a finished product like this. |
| © 2004 WLS Headliners |